congratulations! you've now got a better way to test in hubspot
start testing anything in hubspot workflows
below you will find more details on how to use split test automation natively in hubspot workflows.
what will you test?
step 1
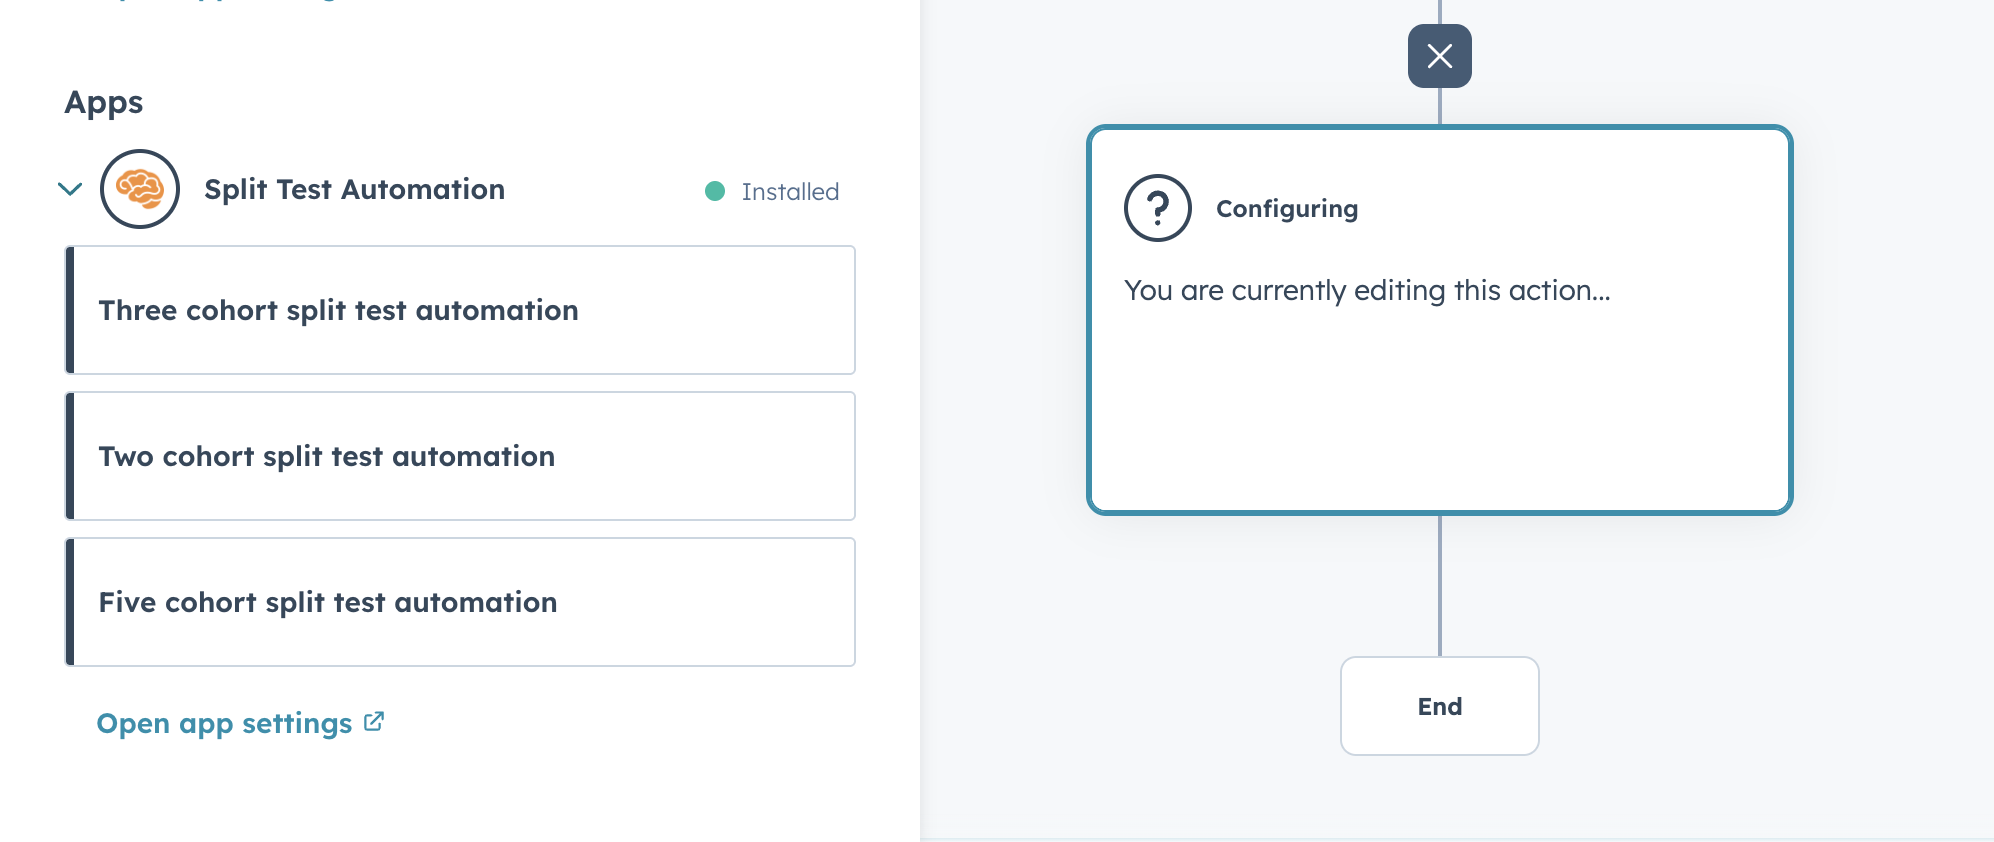
navigate to the hubspot workflow tool and you'll now see three options for split testing
select the appropriate action based on the number of variations you'd like to test.
for example, if you have three variations of an email, use the three cohort split test automation action.


step 2
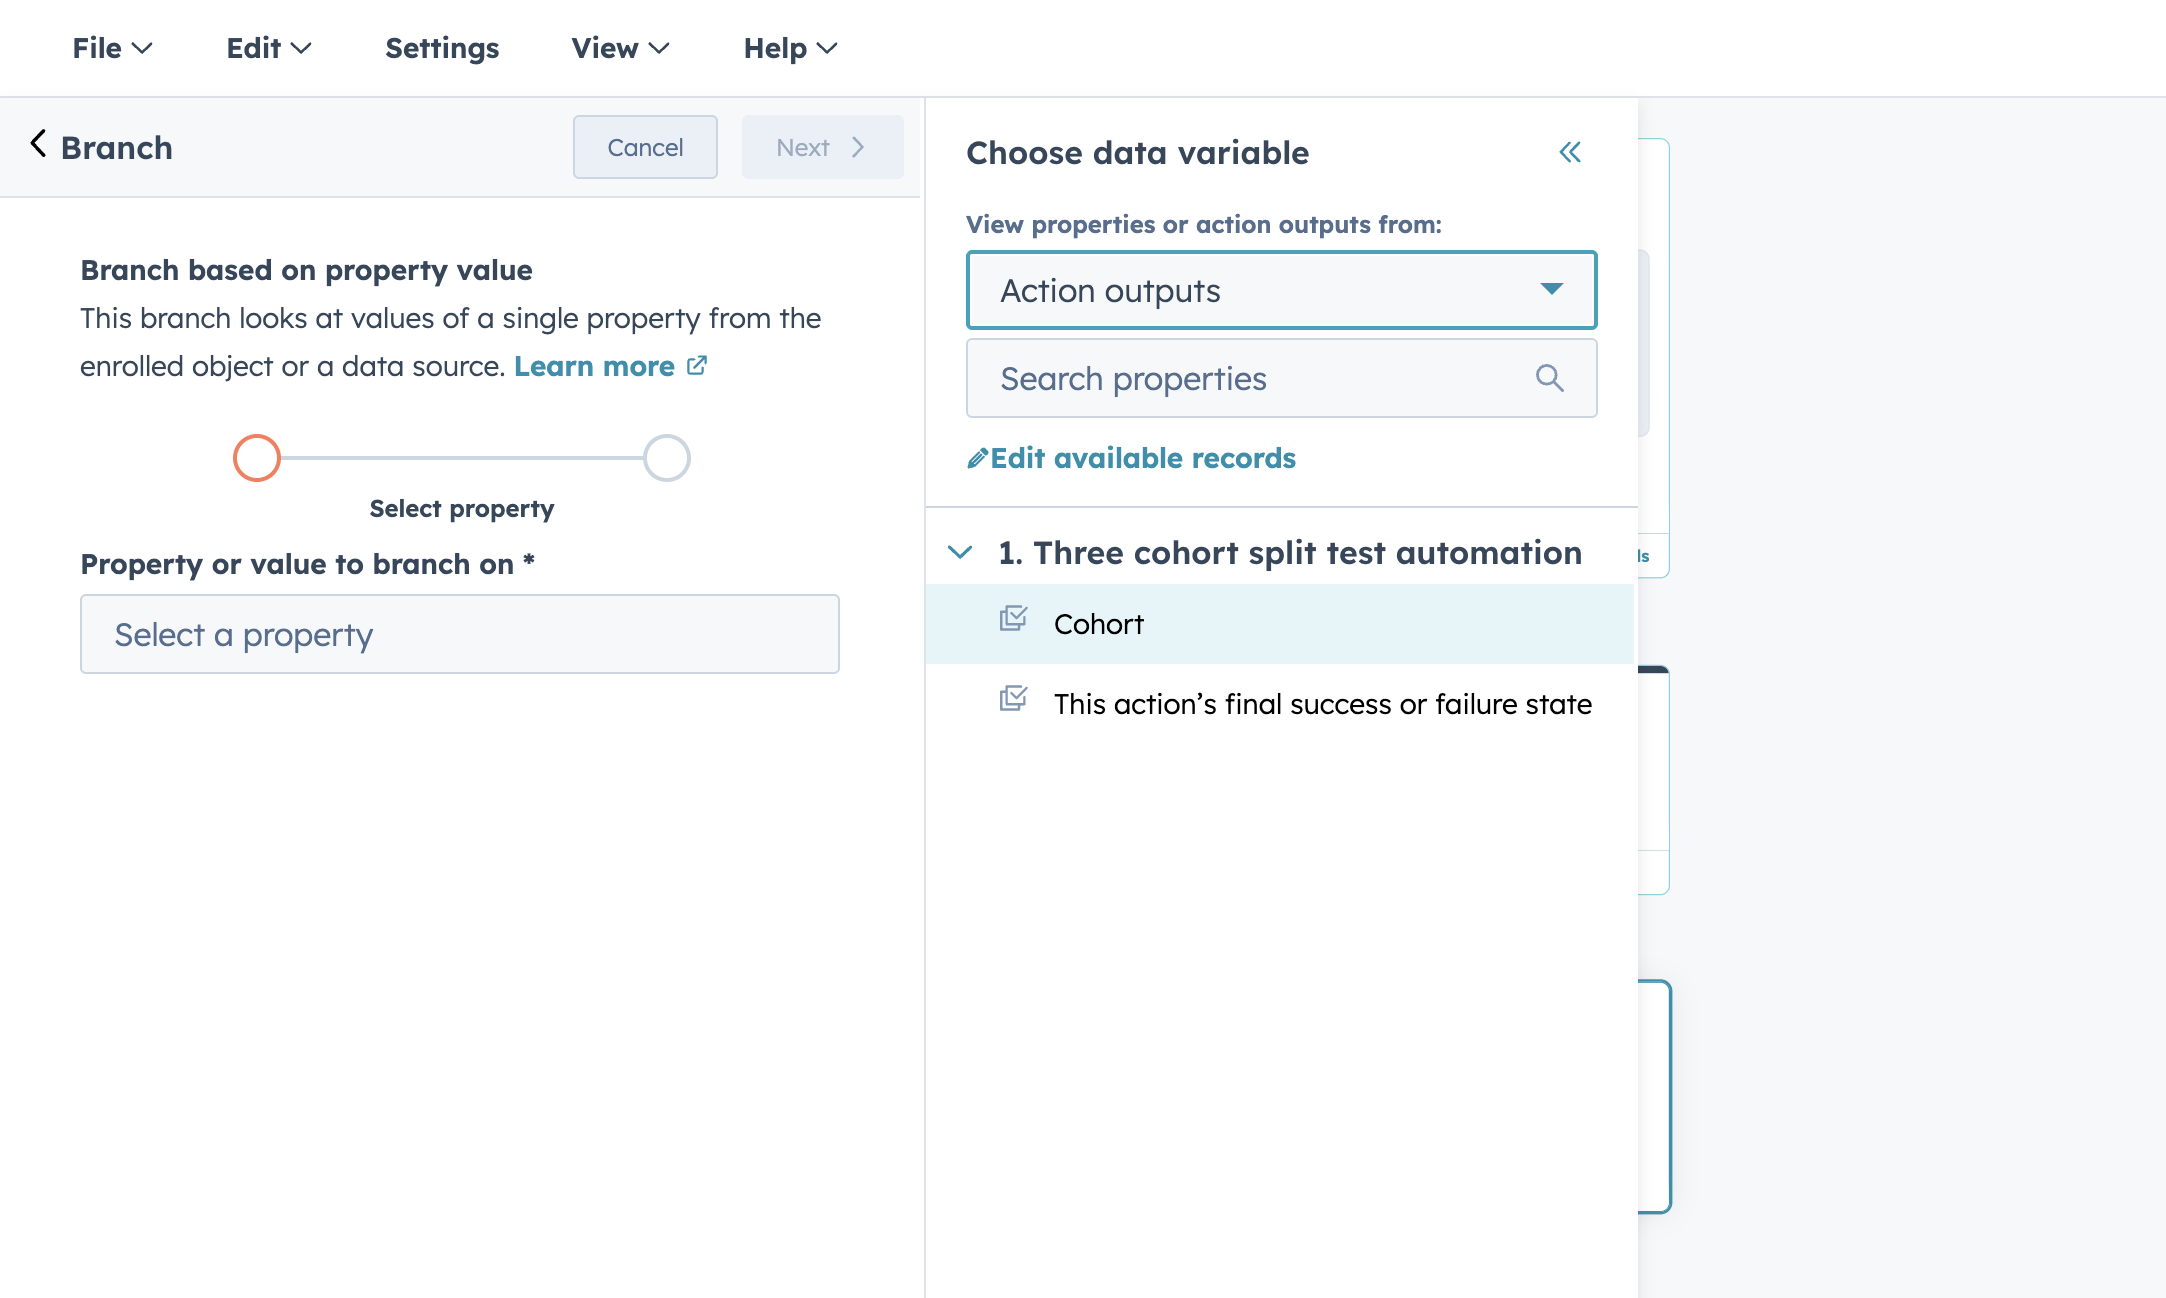
once you've added a split test automation step, add a value equals branch
- start with "one property or action output".
- then choose data variable by selecting "action outputs".
- branch on the value "cohort" from "1.(Beta) Three cohort split test automation".


step 3
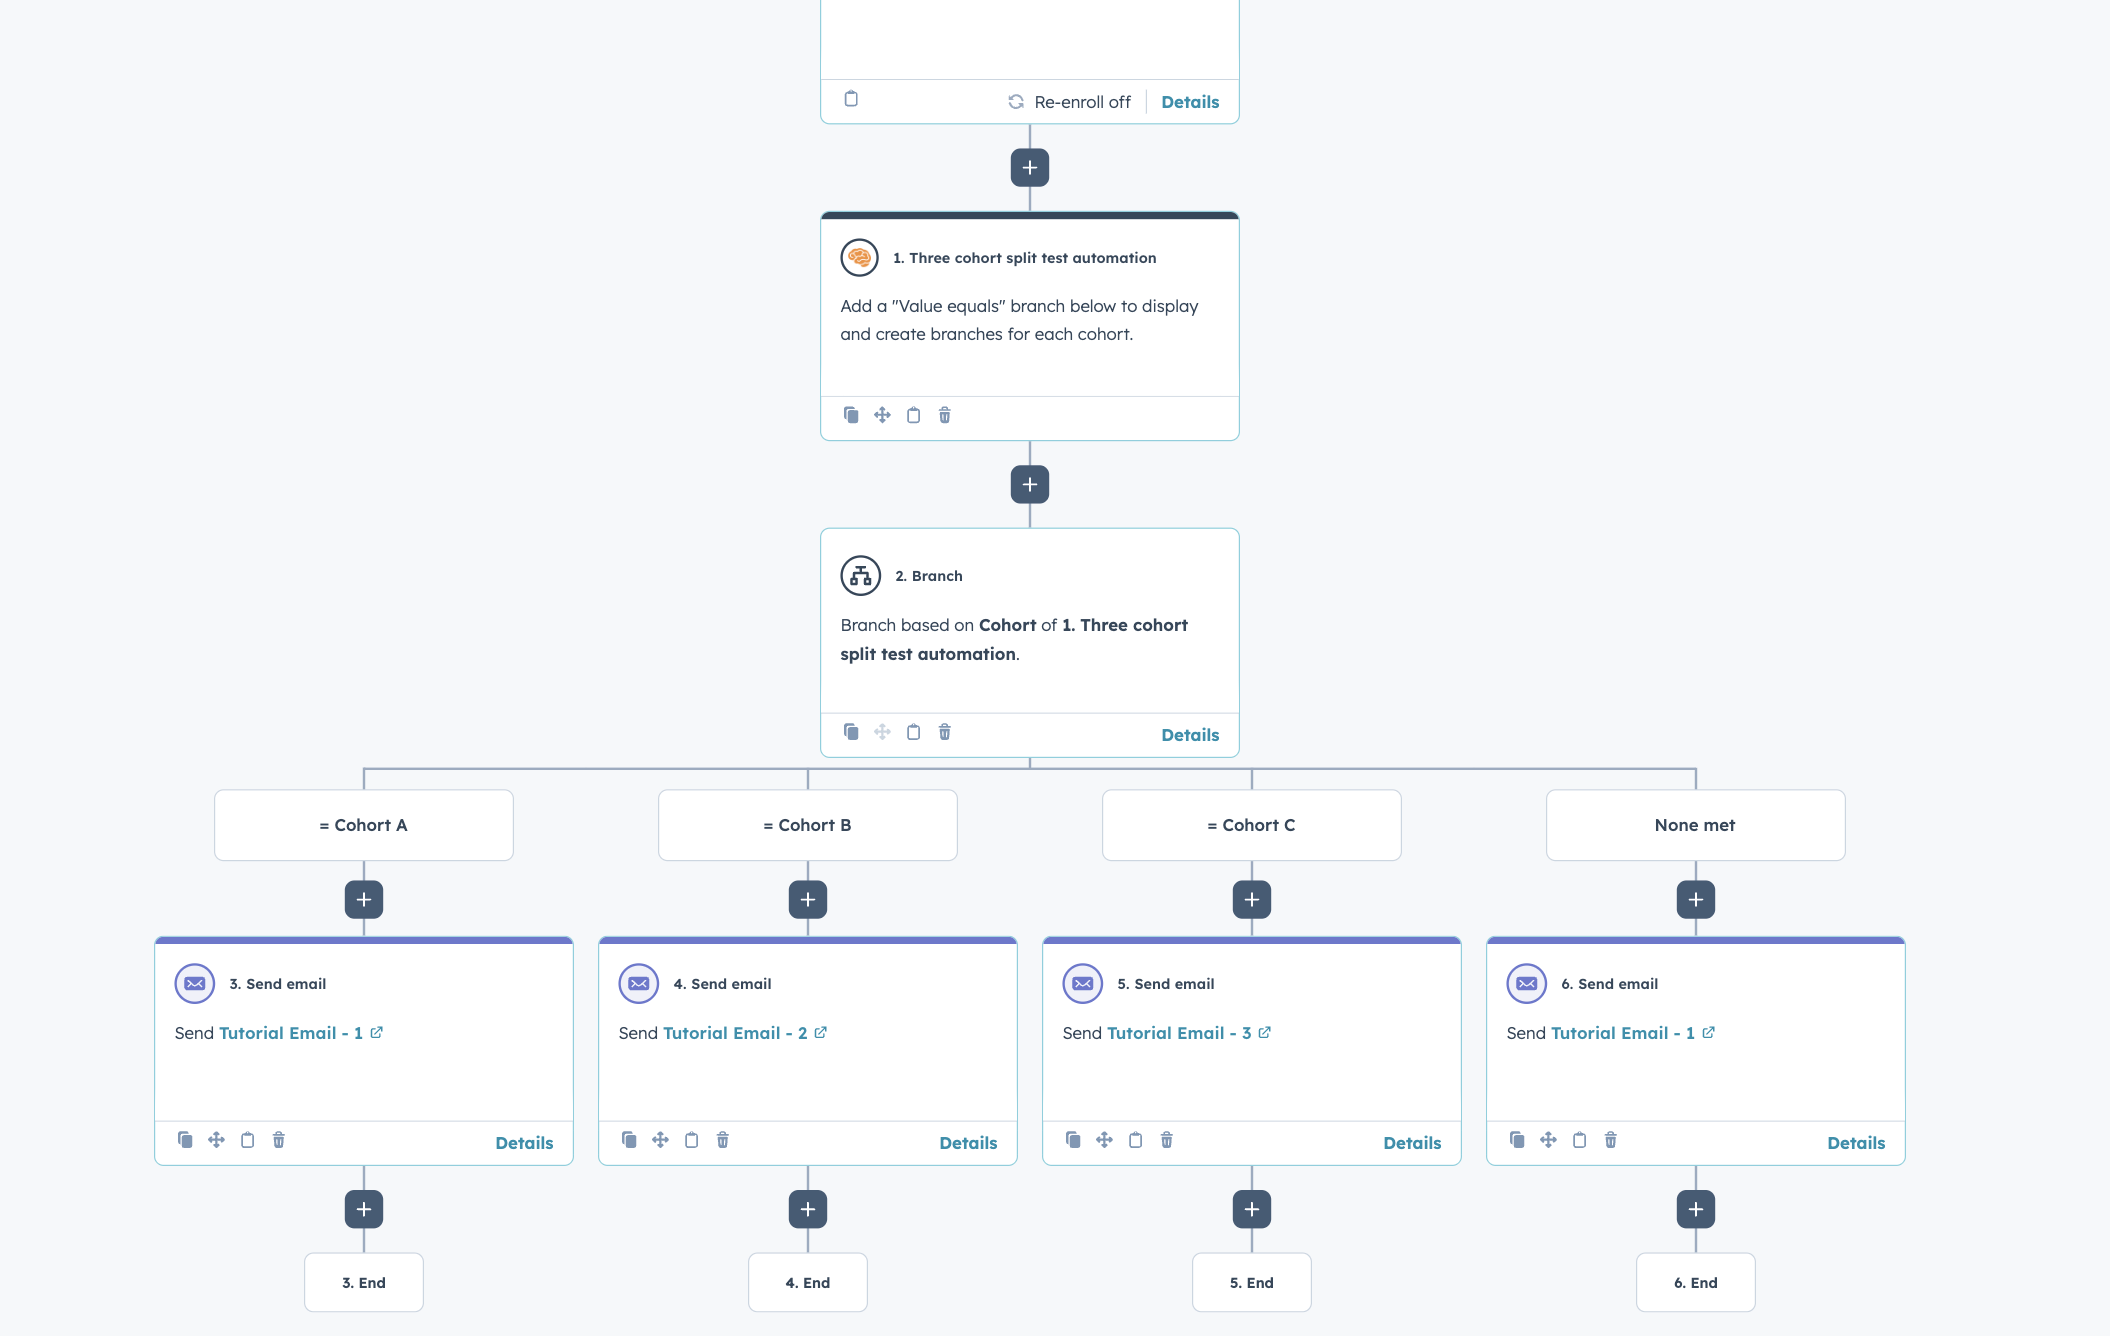
add your variations beneath each cohort
test things like send times, preview text, content, subject lines, HTML vs. plain text, delays between emails, number of emails sent in a nurture stream / automated campaign, email from name, CTA positioning or color, email frequency, seventh sense's email health tool, etc. — really anything!
the None met branch is there in case there is a communication error in distributing each contact to their respective cohort.
we recommend using a default email under this branch (think of it like the "A" version of whatever you are testing).


note: split test automation intentionally uses true randomization to get you the most accurate result (think coin flip vs dealing cards). this means it may sometimes put two contacts down one branch in a row, but over time, your random cohorts will end up similar in size.
step 4
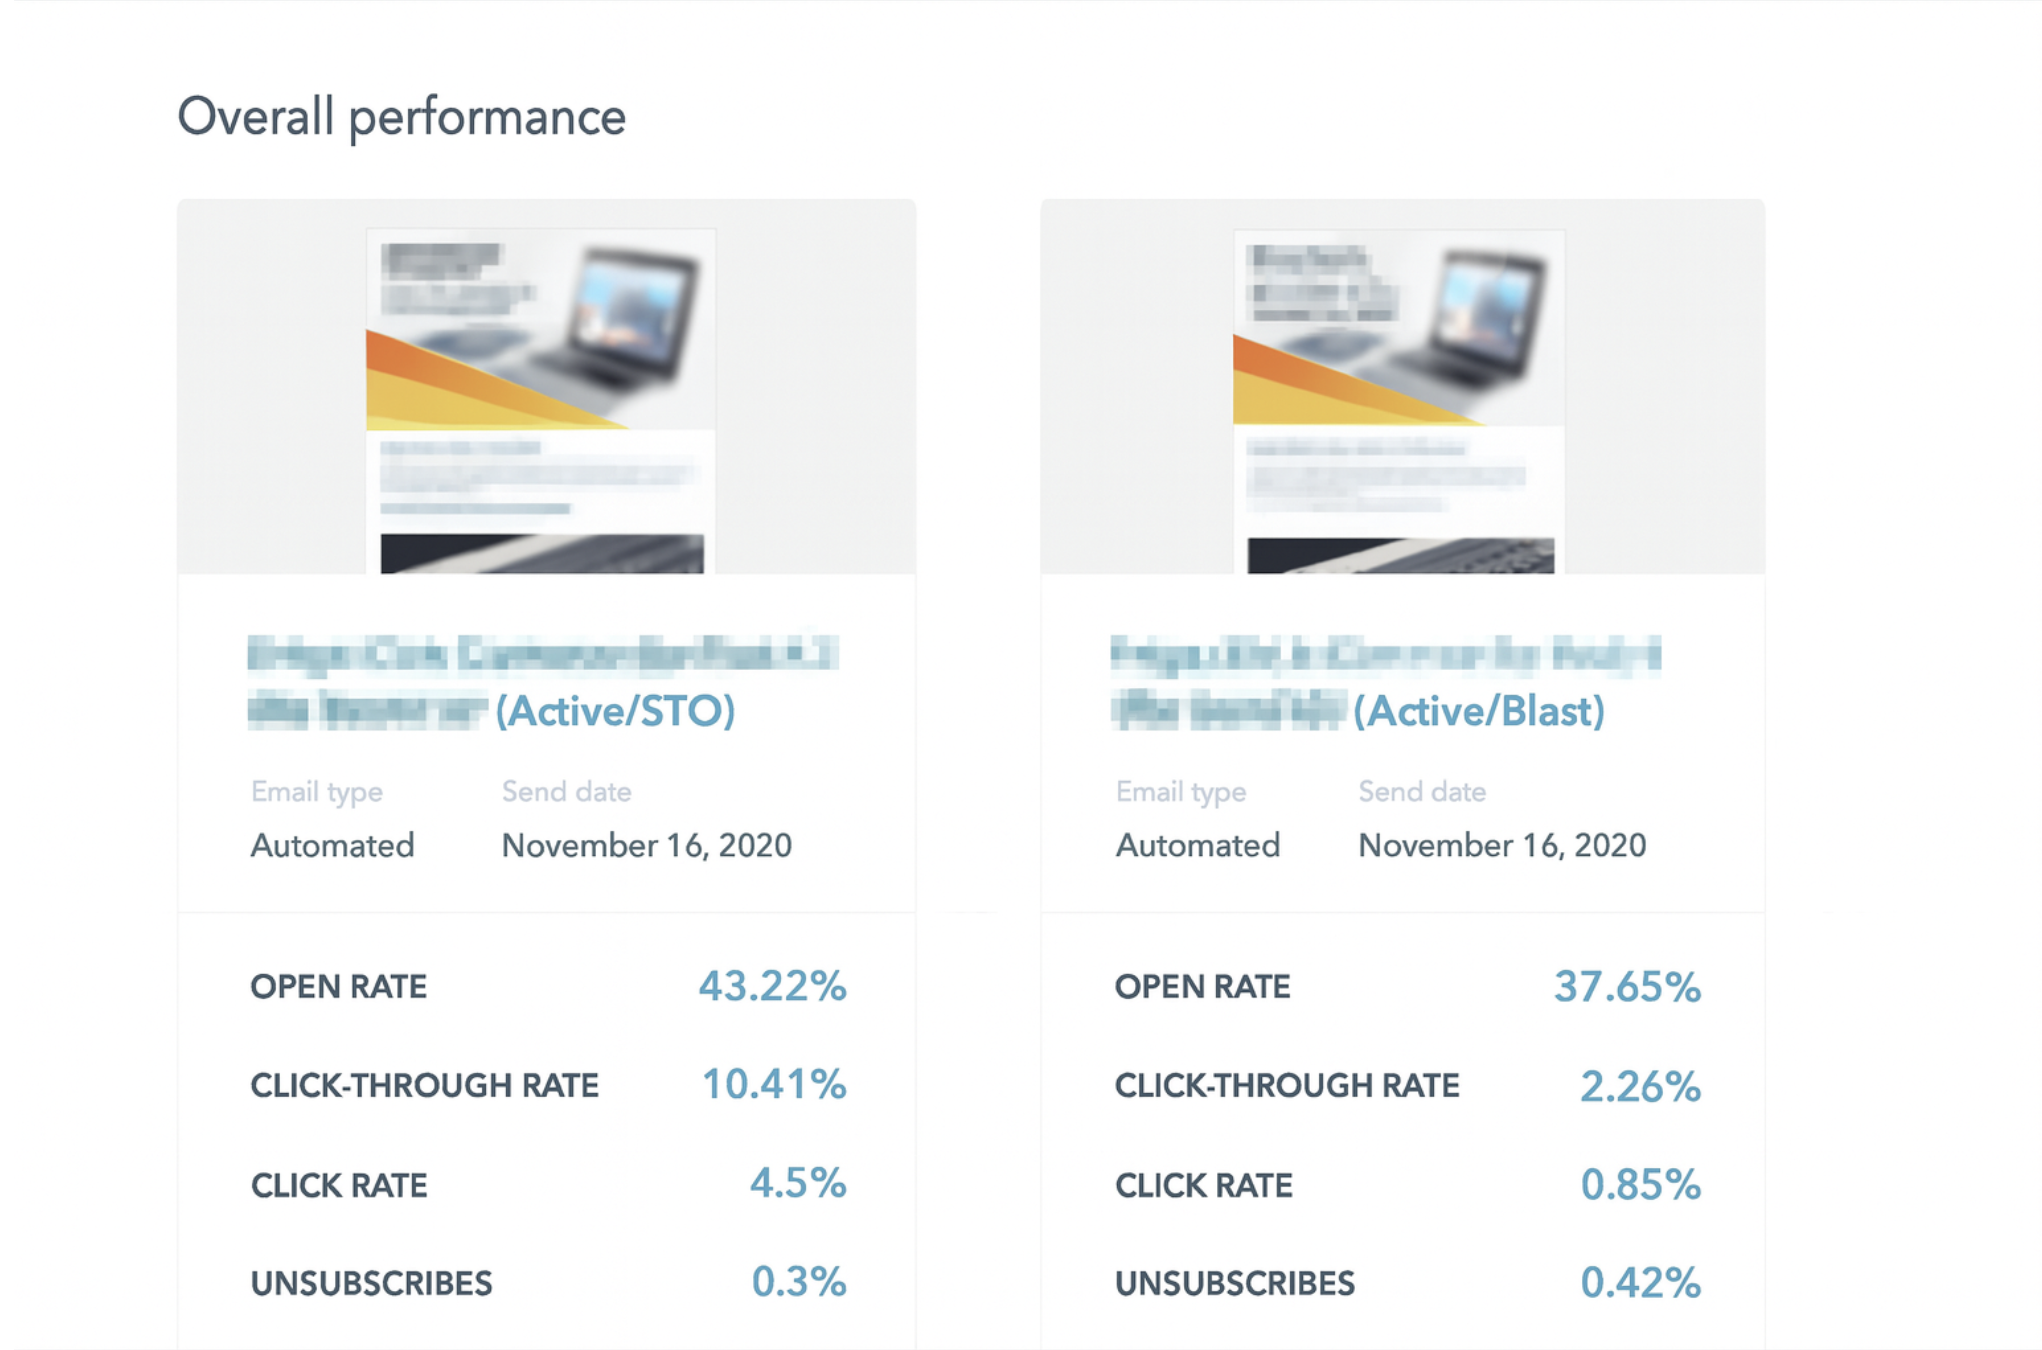
analyze your results to drive better decision making on what's working and what isn't
run your test as long, or as short as you want.
when you’re satisfied with the outcome, you pick the winner.
simply change the losing variation(s) email or element to the winning variation.


